Cupping at home: learn to taste coffee like a professional
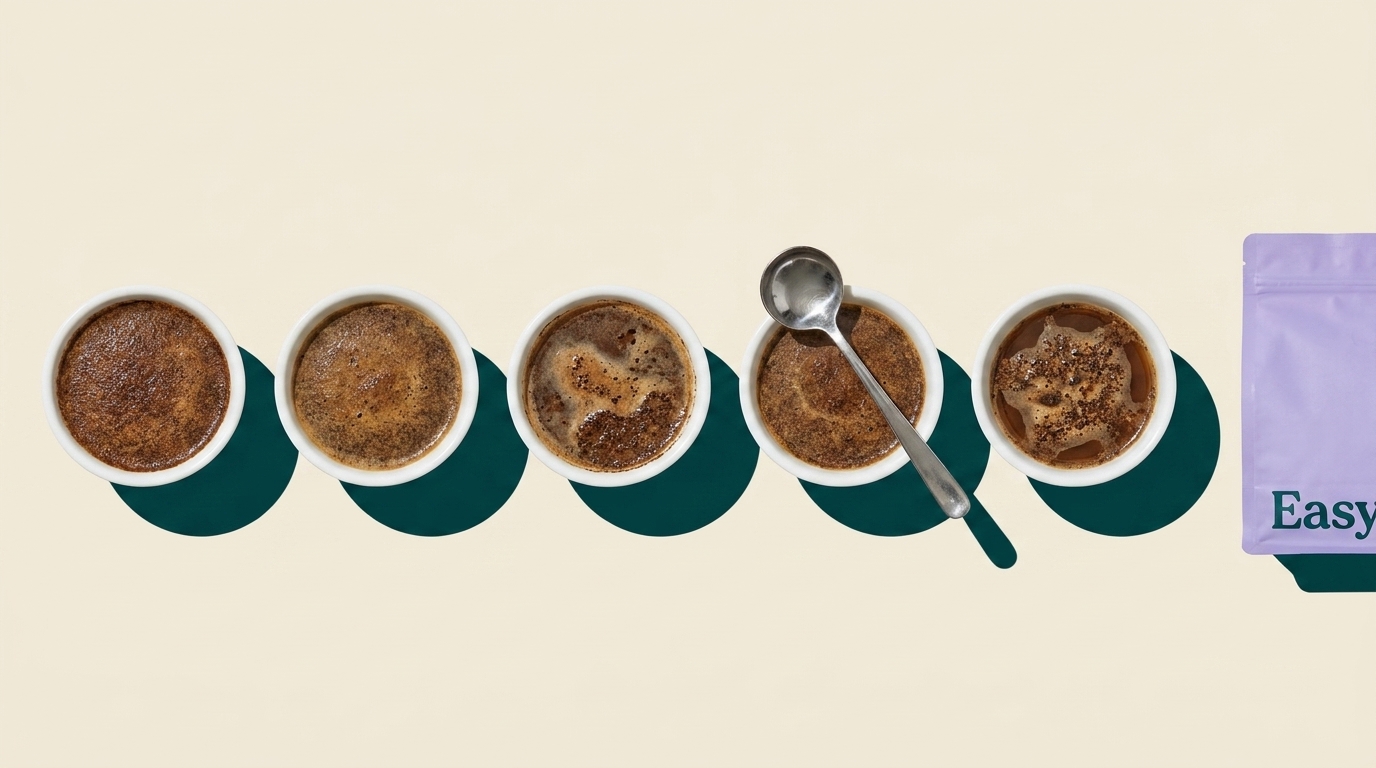
How do you taste the true flavor of a coffee bean, without the influence of your brew method? If you brew a V60 differently from an AeroPress, are you tasting the coffee or your own technique? A global standard was developed for this problem: cupping. This is the protocol coffee professionals use to assess coffee objectively.
Cupping is a standardized tasting method where all variables — the ratio of coffee to water, the temperature and the steep time — are the same for every coffee. That leaves the coffee itself as the only remaining variable. It’s the most direct way to compare different coffees fairly and to train your tasting skills. It’s how you learn to recognize the flavors you find on the flavor wheel, a tool that helps you name specific tasting notes like ‘blueberry’ or ‘caramel’.
What you need
You don’t need a professional cupping set. What does work is the following:
- At least 2, and preferably 3 to 4 coffees to set up side by side. Comparing is easier than judging a flavor on its own.
- Identical cups or glasses, one per coffee.
- A scale, because precision is the essence of this protocol.
- A tablespoon for the break, skimming and slurping.
- A timer.
- Hot water at 93°C.
That’s all you need. Cupping is deliberately low-threshold: it’s about the protocol, not the equipment.
The protocol step by step
Dosing. Use 8.25 grams of coffee per 150 ml of water. Grind the coffee a little coarser than you normally would for filter coffee.
Adding water. Pour the 93°C water directly over the ground coffee in the cup. Don’t stir. Start the timer at 4 minutes.
The break. After 4 minutes, a crust of ground coffee has formed on the surface. Break it with your spoon by moving through it three or four times. Lean straight over the cup and smell. This is the moment when most of the volatile aromas are released. If you miss this, you miss a large part of the information.
Skimming. With two spoons, scoop away the top layer with foam and loose particles. What’s left is clear enough to taste.
Cooling. Wait until the coffee has cooled to a temperature you can comfortably slurp. If the coffee is too hot, you mostly taste heat and no flavor.
Slurping. Scoop coffee with the spoon and slurp loudly. Repeat this several times per coffee, at different moments as the coffee cools further. Some flavors only come out as the temperature drops.
Why slurp (and why it isn’t rude)
It may sound strange at the table, but slurping has a clear function. It spreads the coffee in a fine mist across your whole mouth, instead of just over your tongue. That way you taste the basic tastes — sweet, sour and bitter — and at the same time you send the aromas retronasally to your olfactory nerves. Drinking quietly gives a slower and less complete impression.
So professional cuppers don’t do this to show off. It’s the most efficient way to taste everything there is to taste in one motion.
What you’re scoring: the four attributes in practice
Balance, complexity, clean cup and uniformity are the four tasting attributes professionals use. During cupping, these terms become very concrete:
Balance: do you taste sour, sweet and bitter one after another, or does something dominate from the first slurp? Ask yourself this question for each coffee separately.
Complexity: does the flavor unfold in phases (first impression, middle, finish), or does it stay one flat impression? Compare your coffees. A single origin often shows this more clearly than a blend.
Clean cup: do you taste something that doesn’t belong in coffee, like a musty, chemical or earthy flavor? That shouldn’t be there to any degree.
Uniformity: if you’ve brewed two cups of the same coffee, do they taste identical? A difference between cups of the same lot points to a defect in the beans themselves, not in your brew method. You’ve just standardized that.
Applying the flavor wheel during cupping
Start broad. Do you taste something fruity? Then work further inward on the flavor wheel: is it citrus, berry or stone fruit? Do this per coffee and repeat it several times as the coffee cools. Some flavors, especially the finer and sweeter ones, only come out at a lower temperature.
Then compare the coffees against each other. That’s where cupping shows its power. It’s easier to say “coffee A is fruitier than coffee B” than to determine in isolation what coffee A exactly is.
Common beginner mistakes
Tasting just 1 coffee. Without a reference point, your brain lacks a frame of reference. Even 2 coffees side by side make a huge difference in what you notice.
Tasting too late. Aroma is volatile. If you wait too long after the break, part of the information is already gone.
Not taking notes. Three coffees later you won’t remember what you tasted in the first. A few keywords per coffee is enough.
Frequently Asked Questions
Can I do cupping with just 1 coffee?
You can, but you learn little from it. Cupping works best with at least 2, and preferably 3 to 4 coffees side by side. Only then do you hear what sets a specific coffee apart from the rest.
Do I really have to slurp?
Yes, if you want to follow the protocol seriously. Slurping spreads the coffee across your whole mouth and sends the aromas to your olfactory nerves at the same time. Drinking quietly gives a less complete impression.
What if I don’t taste anything specific?
That’s normal at first. Start with the broad category — sweet, sour, fruity or nutty — and work toward specific flavors only later. Compare with a second coffee, because hearing a difference is easier than naming a flavor on its own.
How often do I need to practice before I notice a difference?
Most people notice a clear difference in their own perception after just 3 to 5 sessions. Consistency in the protocol, with the same ratio and temperature, matters more than the number of sessions.
In closing
Cupping isn’t a goal in itself. It’s training: a way to build your tasting skill without your brew method distracting you. What you learn here you carry to every cup you brew afterward, even when that’s just a V60 on a weekday morning.
Want to apply that skill to your own espresso too? The guide Dialing in espresso: the complete guide shows how you translate flavor into a concrete adjustment.