Dialing in espresso: the complete guide for home baristas
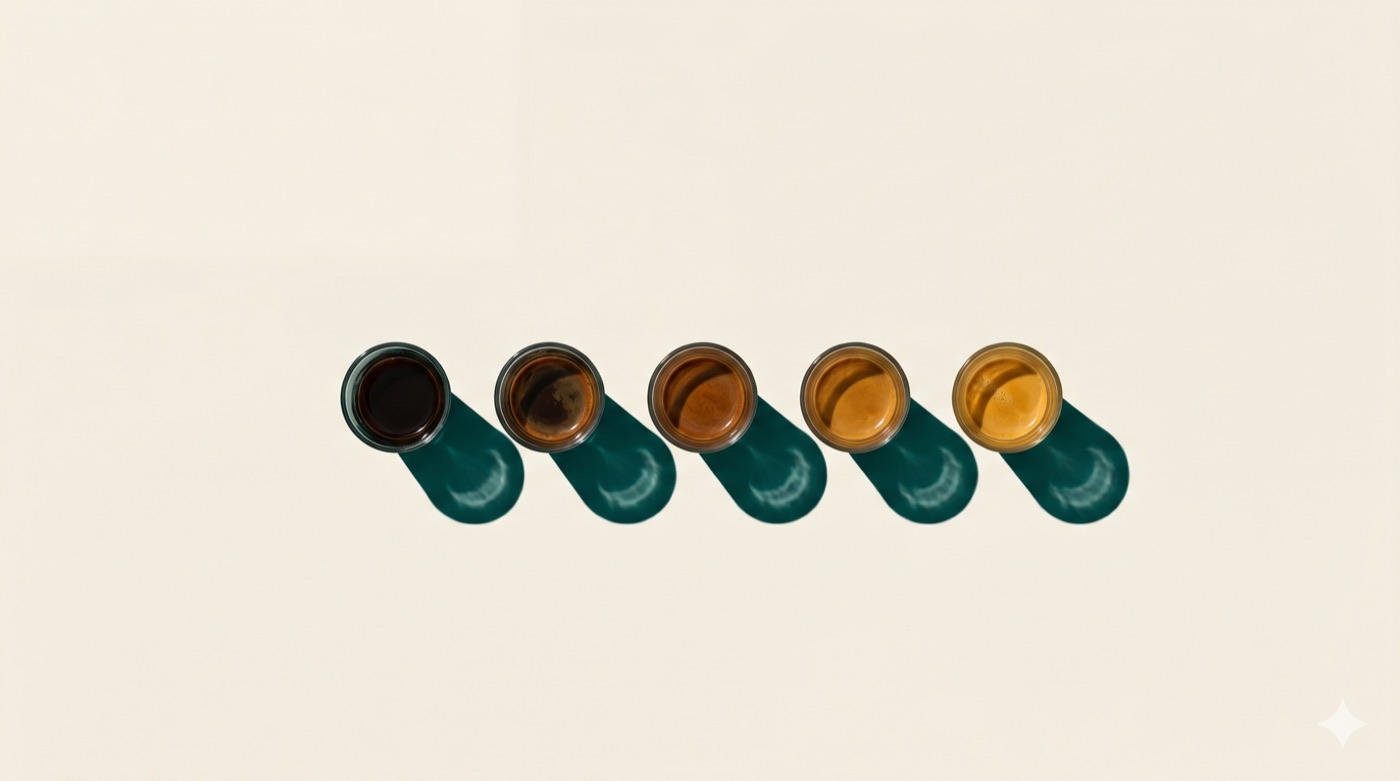
Shot one: sour. Sharp. You might blame the beans.
Shot two: bitter. Dry. You might blame the machine.
Shot three: wait. This is right.
But you no longer know what you did differently from the two shots before.
That’s exactly the problem dialing in espresso solves. Not “try and hope” — but a methodical process that gives you a solid starting point in five shots, and then tells you how to hold it.
Baristas have their own word for this process: dialing in — like tuning a radio station to the right frequency. In this article you’ll learn how that works. Which three variables matter. How to read them. And how you never have to guess again after a new bag of beans.
You don’t need a professional grinder. You don’t need an expensive machine. You need three variables, a scale, and the willingness to write down five things.
What does dialing in espresso mean?
Dialing in espresso means: setting all the variables so the shot tastes the way the bean intended.
That sounds simple. The catch: those variables change too. New bag of beans? Dial in again. Beans that have gotten three weeks old? The recipe that was right last week isn’t right now. Humidity in summer? Small adjustment.
Most people think dialing in espresso is done once — with the first bag, maybe with the first machine. Baristas know it’s an ongoing process. Not every day. But with every new variable.
That’s exactly why “dialing in” is such a fitting metaphor. You don’t set something and leave it forever. You converge toward a point — the point where the bean sounds best. And when conditions change, you adjust again.
The difference between a home barista who always pulls good shots and someone who sometimes pulls good shots isn’t equipment. It’s whether you have a method or not.
The three variables you control
Of everything that influences your espresso — water temperature, pressure, pre-infusion time, tamp height — there are three variables you as a home barista really control, and that make the most difference. Water temperature deliberately isn’t among them: on most machines you don’t set it directly. The exceptions are the Rancilio Silvia and Gaggia Classic Pro Evo, where temperature surfing gives you that control anyway.
1. Grind size
This is the most impactful variable, and almost always the first place to start.
Finer grind → more contact area between coffee and water → more resistance → slower extraction → richer, more complex flavor. Too fine: bitter, harsh, slow flow, sometimes choked (won’t run at all).
Coarser grind → less resistance for the water → faster extraction → thinner, more sour result. Too coarse: shot runs through in ten seconds, flavor flat or sharp-sour, little crema.
Grind size is your primary steering tool. Always adjust it first. Not the dose, not the ratio — grind first.
A rule of thumb for adjustments: one click at a time on the grinder. More is too much to learn from. Some grinders have larger steps than others — then you compensate through dose (see below).
2. Dose
The amount of ground coffee in the portafilter. Standard for a double shot: 18 grams.
Dose is your secondary variable. You adjust it when grind size doesn’t give enough room, or when your grinder works in large steps and one click is too much or too little.
More coffee → richer, fuller, higher resistance for the water, slightly slower extraction. Less coffee → thinner, faster, more room for variation in extraction.
Vary the dose in small steps: 0.5 grams at a time. More is too much to learn from.
3. Ratio (coffee in : coffee out)
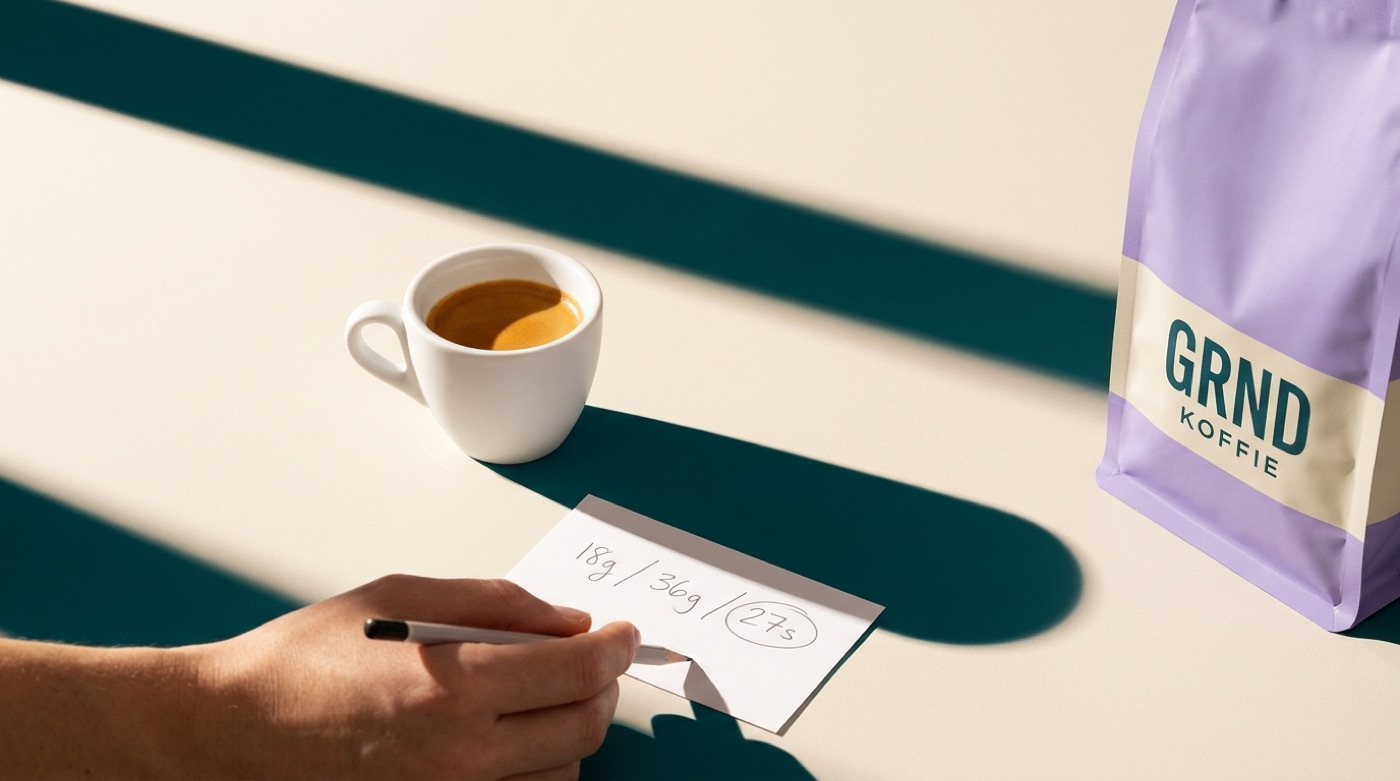
The EasyBeans starting point is 1:2 — 18 grams of ground coffee yields 36 grams of espresso in the cup. That’s the standard used by specialty baristas worldwide.
More yield (letting more water pass through the coffee): lighter, longer, slightly more sour in character. Less yield: more concentrated, fuller, can head toward bitter if you’re already close to over-extraction.
Ratio is your fine-tuning. If grind size and dose are right but the flavor is just off, there’s still room here.
→ No recipe as a starting point yet? Calculate it at /startpunt. That gives you the right dose and ratio for your machine — so you don’t start by guessing.
The extraction time — symptom, not goal
The extraction time — the number of seconds from first drop to cut-off — is something many beginners focus on straight away. Understandable: it’s measurable, and everyone quotes a number.
But the extraction time is a symptom, not a goal.
The goal is good flavor. The clock tells you whether you’re on the right track.
Target zone for a double shot (18g in → 36g out): 25–30 seconds.
| Extraction time | What it tells you | First action |
|---|---|---|
| < 20 seconds | Too fast — water has too little resistance | Grind finer |
| 20–25 seconds | Slightly fast — can be good, taste first | Taste and decide |
| 25–30 seconds | Target zone — taste and note | If it tastes good: lock it in |
| 30–35 seconds | Slightly slow — too fine or dose too high | Grind coarser or lower dose |
| > 35 seconds | Too slow — too fine, or distribution problem | Grind coarser, check tamping |
But never use the clock as your only measure. A 22-second shot can taste delicious. A 28-second shot can be harsh. Taste comes first.
Dialing in espresso in 5 shots
This is the EasyBeans method. Not an endless experimentation session — a structured process that gives you a solid starting point in five shots.
Baristas call this “dialing in”: tuning the parameters step by step until the shot sounds like the frequency you were looking for. Not one big jump — small, deliberate steps, one variable each time.
What you need before you start
- Scale (€15–25; your machine cost more)
- Timer (a phone is fine)
- Pen and paper or a notes app
- Beans in the sweet spot: 7–21 days after roast date — not too fresh, not too old. Beans outside this window you don’t fix by dialing in better. (More on coffee bean freshness)
- Your starting-point recipe from /startpunt
Shot 1 — Measure the baseline
Use your starting-point recipe exactly. No adjustments, no feel, no “I always add a bit more.” Exactly what it says.
Measure and note:
- How long did the shot take? (seconds)
- How many grams of espresso in the cup? (yield)
- How does it taste?
You note everything. You adjust nothing yet. This shot is your baseline.
Shot 2 — Diagnose and first adjustment
Now you decide based on what you measured and tasted.
Shot tastes sour or sharp and runs too fast (< 22 seconds): Grind finer. One click. No more.
Shot tastes bitter or dry and runs too slow (> 33 seconds): Grind coarser. One click.
Shot tastes flat or hollow but the timing is right (25–30 seconds): Check your dose — weigh again, maybe there was more or less in it than you thought. Or check the beans: how old are they?
One adjustment at a time. That’s the only rule that really matters. Adjusting two things at once means you never know which adjustment made the difference.
Shot 3 — Keep the adjustment or reverse it
You’ve adjusted one variable. Pull the shot with the new setting. Measure, taste, note.
Improvement? Keep going in the same direction if it’s not quite right yet. Worse? You went the wrong way. Reverse the adjustment. Already right? Note the setting, go to shot 4 for confirmation.
Shot 4 — Fine-tuning
You’re now close to the goal. Small correction if needed: maybe half a click on the grinder, maybe 0.5 grams more or less yield. These are small steps — at this point any big gesture is too much.
If the flavor is good after shot 3: skip shot 4 and go straight to locking it in.
Shot 5 — Lock it in
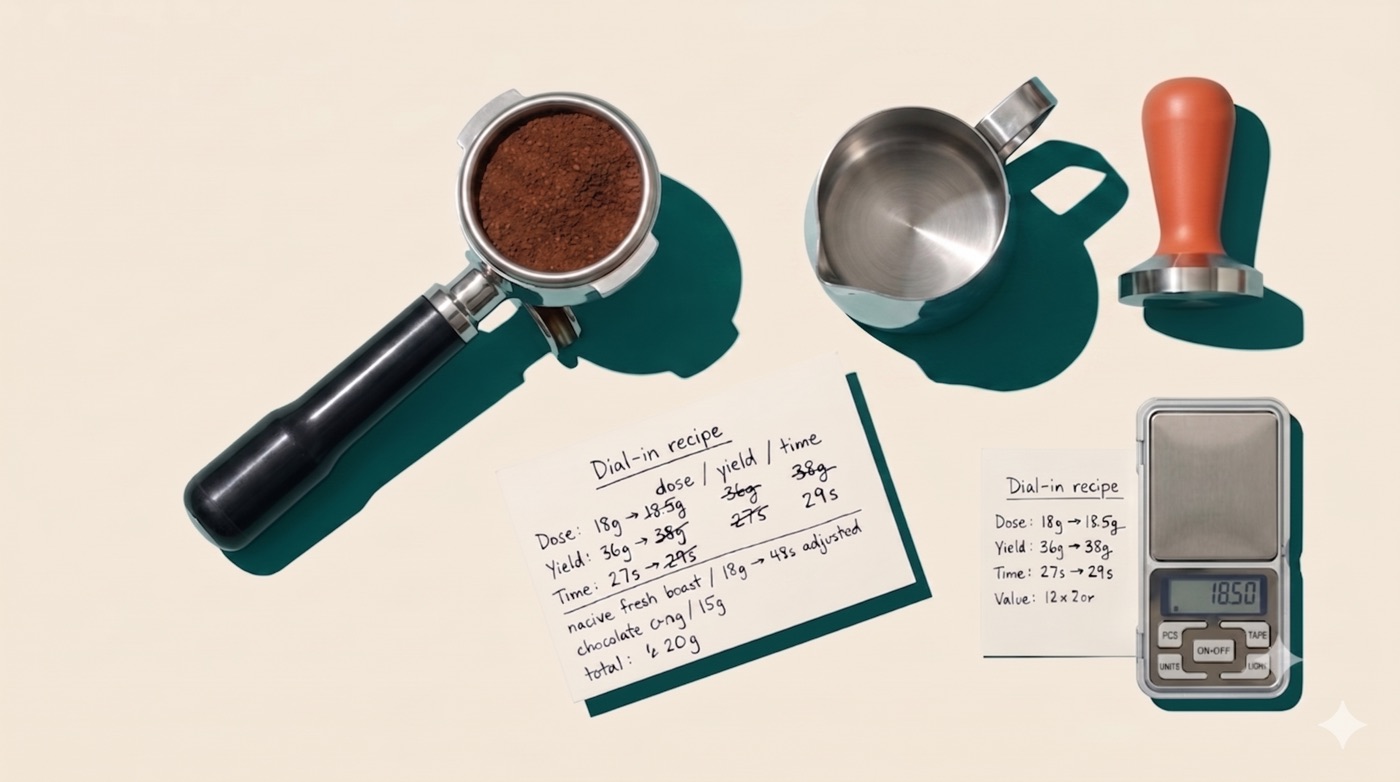
Note everything:
- Grind size — setting on the grinder
- Dose — grams of coffee in the portafilter
- Yield — grams of espresso in the cup
- Extraction time — seconds
- Flavor note — what worked?
This is your base point for this bag of beans. Not forever. A new bag means a new starting point — beans from a different batch call for a small reorientation. But you now have a method. Next time it goes faster.
How does a well-dialed espresso taste?
This is what it comes down to. The clock is a tool; flavor is the goal. Here’s how you translate flavor into action.
| What you taste | Diagnosis | First action |
|---|---|---|
| Sour, sharp, metallic | Under-extraction — too little contact | Grind finer |
| Bitter, dry, harsh | Over-extraction — too much contact | Grind coarser |
| Flat, watery, hollow | Too light — too little coffee or too much water | Lower yield or raise dose |
| Puckering, astringent | Strong over-extraction or beans too old | Grind coarser and check freshness |
| Sour and bitter at once | Multiple variables off at once | Reset to starting point, one adjustment |
| Sweet, concentrated, good finish | Good — note it | — |
A well-dialed espresso has a sweet-sour balance that’s pleasant. No sharpness that bites in the throat. No bitterness that pushes the other flavors away. There’s a finish that lingers — something heading toward nut, caramel or chocolate, depending on the bean.
The crema is caramel-colored and compact. Not a huge white layer of foam that disappears immediately — that’s a sign of either too-fresh beans (too much CO₂) or too little resistance.
When it’s right, you know without thinking. You don’t have to weigh up whether it could be better. You pick up the cup and drink.
When don’t you need to dial in again?
Good news: you don’t have to go through this every day.
No action needed:
- Same bag of beans, same machine, same conditions → setting stands
- A single shot that tastes slightly different but is still good → small variation is normal
Do dial in again:
- New bag of beans — always. Different batch, different roast date, different density. Even from the same roaster, a new bag can be different.
- Beans older than three or four weeks — the bean loses volume and extraction speeds up. Grinding finer helps, but at some point the volatile flavor compounds are gone. (More on freshness and what it does to your shot)
- After maintenance or cleaning of the grinder — burrs sometimes sit slightly differently.
- Season change — higher humidity in summer can slightly affect the grind.
- Different grind used for filter coffee — reset to the espresso setting on the next shot.
Common mistakes
Adjusting two things at once
The most common mistake, and also the most frustrating. You adjust grind size and dose — the shot gets better — but you don’t know which adjustment was responsible. Next time you start guessing again.
One variable at a time. That’s not a rule for perfectionists; it’s the only way you learn anything from your shots.
Treating the clock as a goal
“25–30 seconds” is a guideline, not a sacred law. A 24-second shot that tastes delicious? Good — note it. A 28-second shot that’s harsh? Adjust. The clock diagnoses, flavor decides.
Not taking notes
You don’t remember the setting from three shots ago. That’s not a character flaw — that’s how memory works. Always note grind size, dose, yield, time, flavor note. Five things, twenty seconds.
Inconsistent tamping and distribution
If you distribute the coffee differently in the portafilter or tamp differently every time, your shots are already inconsistent before you adjust anything. Distribute the coffee evenly before you tamp and tamp with even pressure. Even matters more than hard.
Trying to “dial out” beans that are too old
Beans older than six weeks you can’t repair with a better setting. You can compensate the extraction by grinding finer, but the volatile flavor compounds have broken down through oxidation — you won’t get those back. Freshness is the variable that comes before grind size.
Frequently Asked Questions
What is dialing in espresso?
Dialing in espresso means setting the grind size, dose and ratio so the shot tastes the way the bean intended. Baristas call this “dialing in.” With a good starting point you do this in three to five shots.
How many shots do I need to dial in espresso?
With a good starting point: three to five shots. Without a starting point it can take ten shots. If you still don’t have a good shot after twelve shots: stop, check the beans for freshness and start over. After twelve shots with no result, the problem is somewhere else.
How long does dialing in espresso take?
Dialing in five shots with notes takes 20–30 minutes. Including the machine warm-up time and flushing. Plan it for a moment when you can pay attention.
Do I need to dial in again every day?
No. Same beans, same machine, same conditions → setting stands. You dial in again with a new bag of beans, after grinder maintenance, or when shots are significantly different from last week while nothing has changed.
Can I dial in without a scale?
Technically yes, but it’s strongly discouraged. Without a scale you unknowingly vary the dose and never know whether a setting is really better. A scale for €15–25 solves this.
My grinder has no half clicks. Now what?
Compensate through dose. If your grinder works in whole clicks and one click is too much or too little, you bridge the difference with small dose adjustments: 0.5 grams more or less coffee gives you room between two grinder positions.
What does “dialing in” mean?
“Dialing in” is the term baristas use for adjusting espresso. The metaphor is a radio station: you look for the exact frequency where the bean sounds best. One turn too far: noise. On the right frequency: clear.
My espresso always tastes sour. What do I do?
Sour espresso is almost always under-extraction: the water has pulled too few volatile flavor compounds out of the coffee. First step: grind finer. If that doesn’t help, check the dose, the freshness of the beans, and whether your water temperature is high enough (at least 90°C). Correcting everything at once is pointless — one by one.