WDT, RDT and puck prep: fluid dynamics in your portafilter
This article is part of the ultimate guide to specialty coffee at home — here it’s about what happens before the water hits your puck.
To an outsider, the modern espresso routine looks like a bizarre chemistry experiment. Why does a barista spray water on dry beans? And why do they then stir the grounds with acupuncture needles?
The answer lies in the relentless physics of water under pressure. Water is the ultimate opportunist: at a pressure of 9 bar in the group head, it will always seek the path of least resistance. If your coffee bed isn’t perfectly homogeneous, the extraction fails before the first drop hits your cup.
The problem before the grinder: static charge
Especially with light roasts, which are much denser and drier, the triboelectric effect occurs during grinding. The friction between the beans and steel burrs generates a large static charge. The result: the grounds cling to the chute of your grinder (retention) and fly in all directions. You weigh out 18 grams, but only 17.2 grams end up in your portafilter.
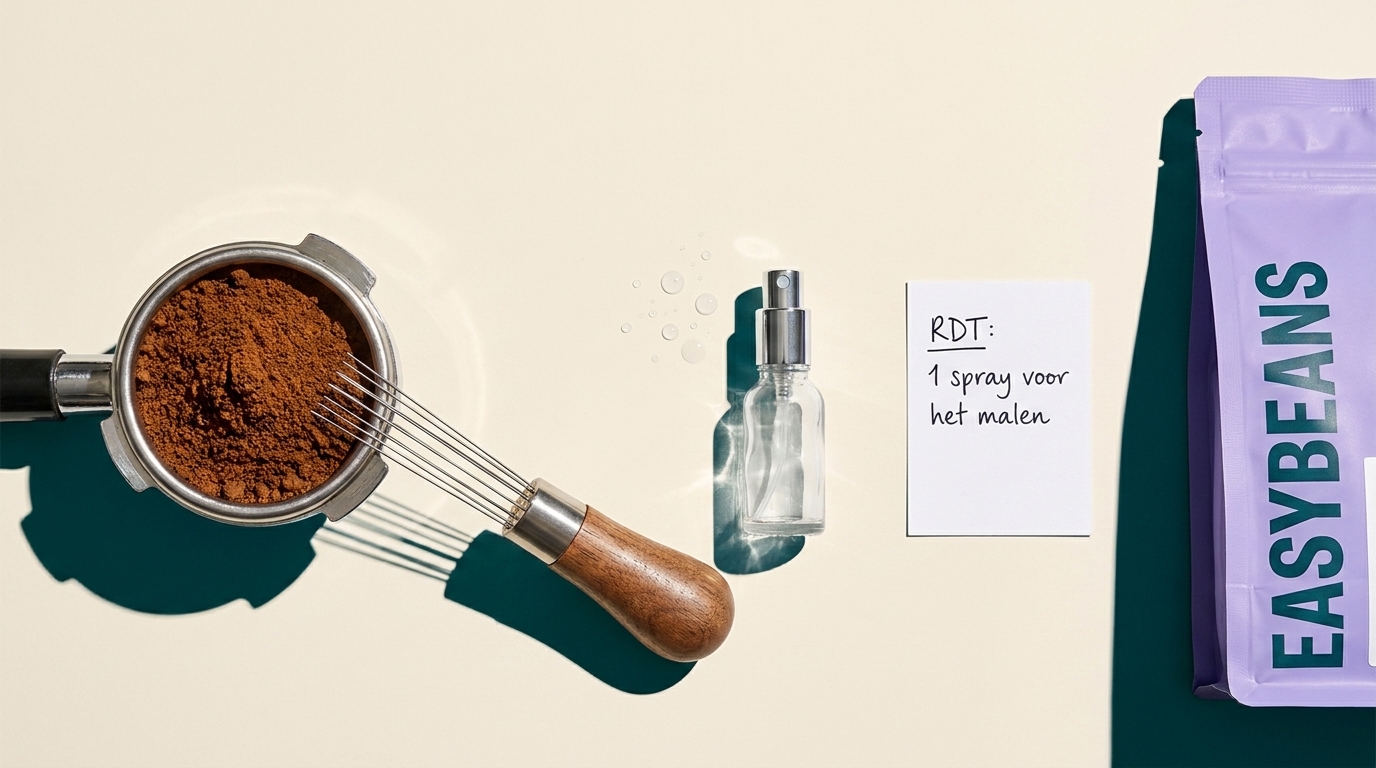
The solution: RDT (Ross Droplet Technique) By spraying one light mist of water over the beans with a small spray bottle before they go into the grinder, you locally raise the humidity. This tiny amount of water — less than 0.1 gram — neutralizes the static almost instantly. Your grinder stays clean and your dose is accurate to the tenth of a gram.
The problem in the portafilter: channeling
When grounds fall out of the grinder, they form microscopic clumps. The coffee also often falls as a mound in the center, leaving the edges emptier. If you simply press this down with a tamper, you create a coffee puck with different densities.
As soon as the water pressure builds, the water bores straight through the less dense spots. This is called channeling. The water sprays through these channels, so that specific bit of coffee heavily over-extracts — bitter and harsh — while the dense chunks of coffee stay completely dry and under-extract: sour and salty.
The solution: WDT (Weiss Distribution Technique) WDT is the use of a tool with very thin needles, ideally between 0.3mm and 0.4mm thick. By stirring in concentric circles through the whole coffee bed, you break up every clump and distribute the particles perfectly evenly across the surface.
This creates an isotropic mass: the density and resistance are exactly equal everywhere. The result is a hydraulically perfect puck where the water is forced to saturate all the coffee particles evenly. Your extraction rises and the bitter, dry finish disappears.
But WDT only solves half the problem. What happens after stirring — leveling the surface, then tamping — determines whether that isotropic mass stays that way.
Distribution tool vs. WDT tool — not the same
Baristas often use WDT and a distribution tool interchangeably, as if they’re one step. They’re two separate operations that complement each other.
WDT works vertically: the needles stir through the whole coffee bed and break clumps loose. A distribution tool works horizontally: a disc with adjustable height smooths the top layer and spreads what WDT has loosened evenly across the basket.
Without a distribution tool after WDT, the coffee bed can still have an uneven top layer — a mound in the center, a thinner edge. Exactly the kind of density difference channeling looks for. The order is: WDT first to break clumps loose, then the distribution tool to level the surface, then tamp.
You don’t strictly need a distribution tool — your finger or the flat bottom of the tamper can also level the top layer. But anyone aiming for the most reproducible puck uses both steps separately.
Tamping — the last step, not the most important
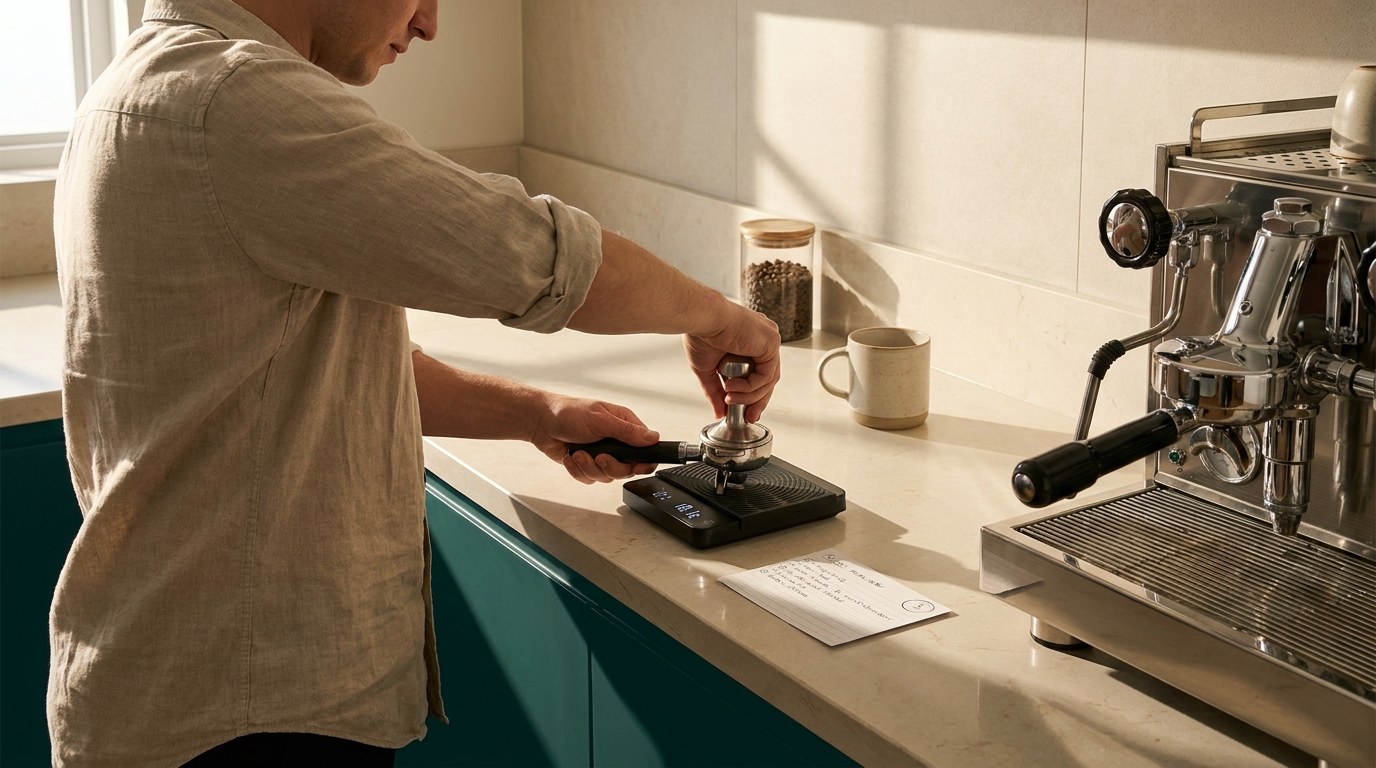
After WDT and distribution comes the tamping. Many home baristas start here, as if pressing harder can compensate for poor distribution. That doesn’t work — an uneven puck stays uneven, no matter how hard you press.
What does count: 15 to 20 kg of pressure is enough. More barely changes the density of the puck. The angle you tamp at makes more difference than the force — a crooked tamp gives a crooked puck, and a crooked puck gives channeling, regardless of how well you’ve distributed.
Press straight down, elbow above your wrist and the tamper, and give a light twist as you release for a smooth surface. A calibrating tamper — which clicks at a preset pressure — helps while you’re still building the feel.
Tamping is the last step in the puck-prep routine, not the most important. The order RDT → WDT → distribution tool → tamp together determines whether the water meets the same resistance everywhere.
Frequently Asked Questions
What’s the difference between WDT and RDT?
RDT solves a problem before grinding: static charge that makes coffee cling and fly around. WDT solves a problem after grinding: clumps and uneven density in your puck that cause channeling. They’re complementary, not alternatives to each other.
Do I really need special tools for WDT?
A dedicated WDT tool with thin needles (0.3–0.4mm) does it most precisely, but even a fine needle or paperclip can make a difference. More important than the exact tool is the technique: stirring in concentric circles through the whole bed, not just at the surface.
Why does my espresso sometimes literally spray out of the portafilter?
That’s often an extreme case of channeling: the water has found a channel with so little resistance that it shoots through with force. WDT before tamping almost always prevents this.
Does RDT make my coffee wetter or watery?
No. The amount of water you spray is minimal (less than 0.1 gram per dose) — enough to neutralize static charge, too little to affect the grind or extraction.
What’s the difference between a distribution tool and a WDT tool?
A WDT tool uses thin needles to stir vertically through the coffee bed and break clumps loose. A distribution tool is a disc you use afterward to smooth the top layer horizontally. They don’t do the same thing and don’t replace each other — WDT first, distribution tool after.
How much pressure do I need to tamp?
15 to 20 kg is enough. More pressure barely makes the puck denser. More important than force is the angle: pressing straight down prevents a crooked puck, and a crooked puck is the direct cause of channeling — regardless of how well you distributed beforehand.
In closing
Puck prep isn’t a ritual for show — it’s the last chance to guarantee that the water forcing through your coffee meets the same resistance everywhere. Without that, no grind setting works perfectly.
Find the starting-point recipe for your setup here →
See also: The ultimate guide to specialty coffee at home · Flat vs. conical burrs: what do you actually taste?